CONSIGLI TECNICI . TECHNICAL ADVICES
STICKER
Anna sta preparando in cucina la colazione per la famiglia. Matilde sta
aprendo la casa al mare per iniziare le sospirate ferie estive. Carlo si sta
rasando la barba davanti allo specchio. Antonio sta apparecchiando i tav-
oli del suo ristorante: cosa hanno in comune Anna, Matilde, Carlo e Anto-
nio? Che nessuno è soddisfatto di ciò su cui da tempo cade l’occhio ogni
mattina: Anna vede che il rivestimento dietro ai fuochi ormai è rovinato
dai residui di cottura, Matilde vorrebbe svecchiare quella sala sempre
uguale da anni, Carlo è stanco di quelle noiose piastrelle marmorizzate
ormai fuori moda, Antonio vorrebbe svecchiare il locale per attrarre più
clienti. Ma tutti hanno poco tempo da dedicare al restauro e non hanno
voglia di imbarcarsi in costosi e lunghi lavori edili. Che fare?
Ebbene, per tutti loro Boxer ha pensato ad una soluzione accattivante e
veloce: STICKER! Il mosaico adesivo “peel & stick”, il prodotto che per-
mette ai nostri quattro amici sopra di partire insoddisfatti la mattina e di
avere risolto il problema la sera stessa! Cinque laminati autoadesivi con
effetto pietra naturale arricchita di inserti in alluminio spazzolato che ne
permettono la collocazione in ogni ambiente rustico, classico o moder-
no. Leggendo attentamente le istruzioni seguenti si evince che “Sticker”
è un prodotto adatto anche ad un uso DIY (do-it-yourself), tuttavia Boxer
suggerisce, quando non si avesse particolare dimestichezza col brico-
lage, di farsi affiancare da un bravo posatore che eseguir
à un lavoro a
regola d’arte in un tempo irrisorio.
DESTINAZIONE D’USO E PREPARAZIONE DEL FONDO: Se si posa
su fondo esistente uniforme e liscio, tipo vecchie piastrelle da rivesti-
mento, fare un preventivo ed accurato lavaggio sgrassante. Nel caso di
piastrelle con fuga molto larga e/o profonda è consigliabile una rasatura
preventiva. Se si posa su intonaco, cartongesso, compensato, ecc. è
necessaria una mano di smalto ed attendere che sia secco. È basilare
che il fondo non contenga antagonisti del collante (per esempio lattice),
sia liscio, resistente e che non ci sia polvere, grasso, muffe, umidità,
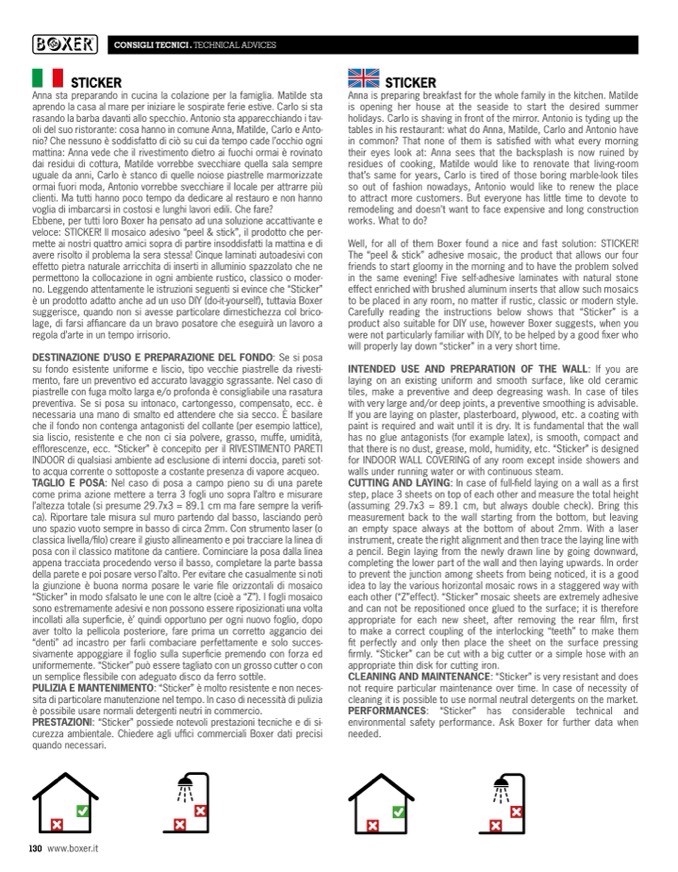
efflorescenze, ecc. “Sticker” è concepito per il RIVESTIMENTO PARETI
INDOOR di qualsiasi ambiente ad esclusione di interni doccia, pareti sot-
to acqua corrente o sottoposte a costante presenza di vapore acqueo.
TAGLIO E POSA: Nel caso di posa a campo pieno su di una parete
come prima azione mettere a terra 3 fogli uno sopra l’altro e misurare
l’altezza totale (si presume 29.7x3 = 89.1 cm ma fare sempre la verifi-
ca). Riportare tale misura sul muro partendo dal basso, lasciando però
uno spazio vuoto sempre in basso di circa 2mm. Con strumento laser (o
classica livella/filo) creare il giusto allineamento e poi tracciare la linea di
posa con il classico matitone da cantiere. Cominciare la posa dalla linea
appena tracciata procedendo verso il basso, completare la parte bassa
della parete e poi posare verso l’alto. Per evitare che casualmente si noti
la giunzione è buona norma posare le varie file orizzontali di mosaico
“Sticker” in modo sfalsato le une con le altre (cioè a “Z”). I fogli mosaico
sono estremamente adesivi e non possono essere riposizionati una volta
incollati alla superficie, è’ quindi opportuno per ogni nuovo foglio, dopo
aver tolto la pellicola posteriore, fare prima un corretto aggancio dei
“denti” ad incastro per farli combaciare perfettamente e solo succes-
sivamente appoggiare il foglio sulla superficie premendo con forza ed
uniformemente. “Sticker” può essere tagliato con un grosso cutter o con
un semplice flessibile con adeguato disco da ferro sottile.
PULIZIA E MANTENIMENTO: “Sticker” è molto resistente e non neces-
sita di particolare manutenzione nel tempo. In caso di necessità di pulizia
è possibile usare normali detergenti neutri in commercio.
PRESTAZIONI: “Sticker” possiede notevoli prestazioni tecniche e di si-
curezza ambientale. Chiedere agli uffici commerciali Boxer dati precisi
quando necessari.
STICKER
Anna is preparing breakfast for the whole family in the kitchen. Matilde
is opening her house at the seaside to start the desired summer
holidays. Carlo is shaving in front of the mirror. Antonio is tyding up the
tables in his restaurant: what do Anna, Matilde, Carlo and Antonio have
in common? That none of them is satisfied with what every morning
their eyes look at: Anna sees that the backsplash is now ruined by
residues of cooking, Matilde would like to renovate that living-room
that’s same for years, Carlo is tired of those boring marble-look tiles
so out of fashion nowadays, Antonio would like to renew the place
to attract more customers. But everyone has little time to devote to
remodeling and doesn’t want to face expensive and long construction
works. What to do?
Well, for all of them Boxer found a nice and fast solution: STICKER!
The “peel & stick” adhesive mosaic, the product that allows our four
friends to start gloomy in the morning and to have the problem solved
in the same evening! Five self-adhesive laminates with natural stone
effect enriched with brushed aluminum inserts that allow such mosaics
to be placed in any room, no matter if rustic, classic or modern style.
Carefully reading the instructions below shows that “Sticker” is a
product also suitable for DIY use, however Boxer suggests, when you
were not particularly familiar with DIY, to be helped by a good fixer who
will properly lay down “sticker” in a very short time.
INTENDED USE AND PREPARATION OF THE WALL: If you are
laying on an existing uniform and smooth surface, like old ceramic
tiles, make a preventive and deep degreasing wash. In case of tiles
with very large and/or deep joints, a preventive smoothing is advisable.
If you are laying on plaster, plasterboard, plywood, etc. a coating with
paint is required and wait until it is dry. It is fundamental that the wall
has no glue antagonists (for example latex), is smooth, compact and
that there is no dust, grease, mold, humidity, etc. “Sticker” is designed
for INDOOR WALL COVERING of any room except inside showers and
walls under running water or with continuous steam.
CUTTING AND LAYING: In case of full-field laying on a wall as a first
step, place 3 sheets on top of each other and measure the total height
(assuming 29.7x3 = 89.1 cm, but always double check). Bring this
measurement back to the wall starting from the bottom, but leaving
an empty space always at the bottom of about 2mm. With a laser
instrument, create the right alignment and then trace the laying line with
a pencil. Begin laying from the newly drawn line by going downward,
completing the lower part of the wall and then laying upwards. In order
to prevent the junction among sheets from being noticed, it is a good
idea to lay the various horizontal mosaic rows in a staggered way with
each other (“Z”effect). “Sticker” mosaic sheets are extremely adhesive
and can not be repositioned once glued to the surface; it is therefore
appropriate for each new sheet, after removing the rear film, first
to make a correct coupling of the interlocking “teeth” to make them
fit perfectly and only then place the sheet on the surface pressing
firmly. “Sticker” can be cut with a big cutter or a simple hose with an
appropriate thin disk for cutting iron.
CLEANING AND MAINTENANCE: “Sticker” is very resistant and does
not require particular maintenance over time. In case of necessity of
cleaning it is possible to use normal neutral detergents on the market.
PERFORMANCES: “Sticker” has considerable technical and
environmental safety performance. Ask Boxer for further data when
needed.
130 www.boxer.it

